The easiest way to verify your WordPress website with Google Search Console using the HTML tag method
A step-by-step guide to getting Google Search Console verified for your WordPress site.
What is Google Search Console?
Google Search Console is a free tool from Google that helps you understand how your website is performing in Google Search.
It shows you useful information like which search terms people use to find your site, which pages are getting clicks and whether Google is having any trouble crawling or indexing your content. It can also alert you to problems that may affect your visibility, such as mobile usability issues, indexing errors or manual actions.
In simple terms, it shows you how Google sees your website.
For a business owner, that matters because it gives you a clearer picture of whether your site is being found, which pages are doing the heavy lifting and where there may be technical issues holding you back.
Before you can use Google Search Console properly, Google needs to confirm that you own the website. One way to do that is by adding a small HTML verification tag to your site’s header.
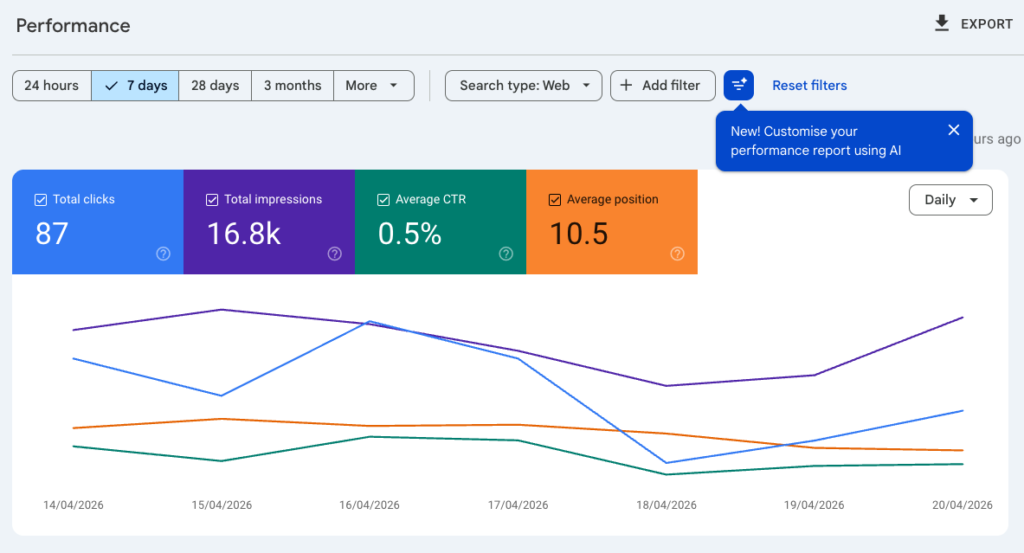
Useful data from Google Search Console
Verifying your WordPress site for dummies with Google Search Console
There are a few ways to verify your website with Google Search Console, but some are more technical than others.
We are going to focus on the simplest one: the HTML tag method.
That means Google gives you a small piece of code and asks you to add it to your website. Once Google can see it, it knows you own the site.
The problem is not the code itself. It is knowing where to put it.
That is why I created this plugin: Download Paste and verify - a simple free WordPress plugin for Google Search Console
Instead of editing files or digging around in WordPress settings, you simply copy the full HTML tag from Google Search Console and paste it into the plugin. The plugin then adds it to your website header.
So the whole process becomes much simpler: paste, save and verify.
Paste and verify - a simple free WordPress plugin for Google Search Console
Paste and verify does exactly what the name suggests.
It gives you one simple place inside WordPress to paste the full Google Search Console HTML tag. Once you save it, the plugin adds that tag to your website header for you.
That means you can verify your site without touching theme files, header code or anything else that feels technical.
It is built for business owners who want the easiest possible route from Google’s verification screen to a verified website.
Step 1. Download and install the plugin
First, download the plugin file to your computer.
Then log in to your WordPress website and go to Plugins > Add New Plugin.
At the top of the page, click Upload Plugin.
Choose the paste-and-verify.zip file you downloaded, click Install Now, then click Activate Plugin once the installation is complete.
You will then find the plugin in the settings tab.
Step 2. Go to Google Search Console and get your code
Search for Google Search Console in Google and open it.
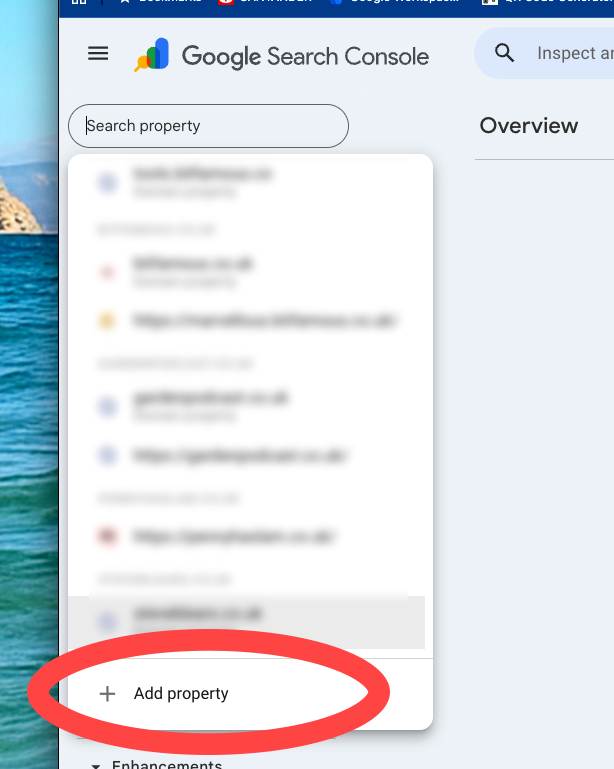
Click Start now and sign in with your Google account. Then click Add property.
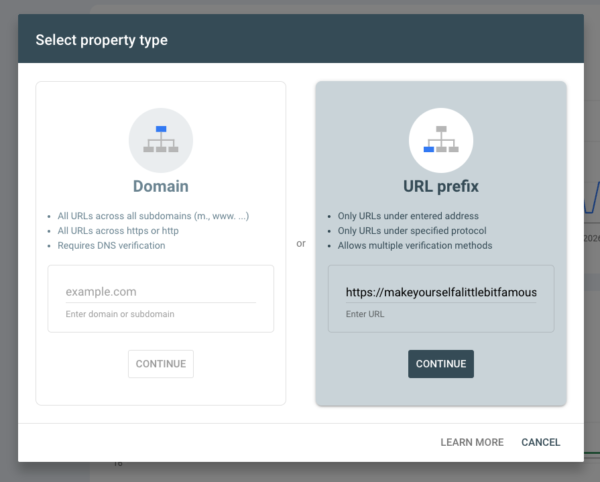
Choose the domain option URL prefix that lets you enter your website's full address, include https:// and click Continue.
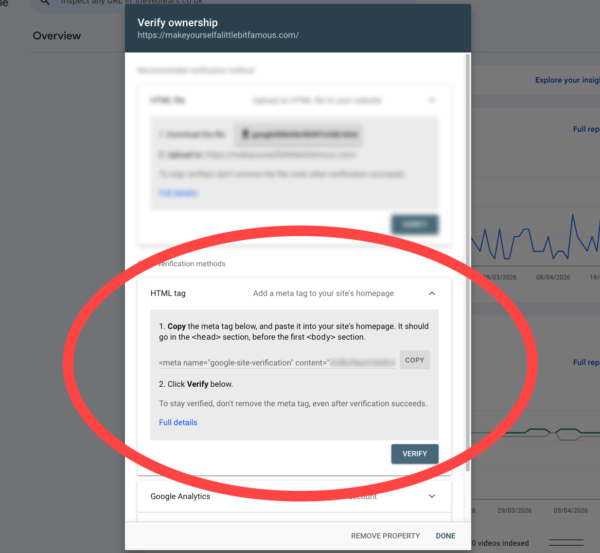
Google will then ask you to prove that you own the website. Choose HTML tag.
Google will show you a piece of code. Copy the whole thing exactly as it appears.
You will paste that code into the plugin in the next step. Leave this page open, don't hit verify yet!
Step three - paste in your code and verify your site
Go back to your WordPress website. In the WordPress dashboard, look for the menu labelled “Paste and verify” on the left sidebar under settings and click it to open the plugin settings page.
Paste the full code from Google Search Console into the box, then click Save.
Then go back to Google Search Console and click Verify.
If everything has worked, Google will confirm that your website has been verified. You’ll see a message like: “Ownership verified.” If not, give it a minute and try again.
Troubleshooting
If Google does not verify your website first time, try these checks:
- Make sure you copied the whole code
Go back to Google Search Console and copy the full code again. It needs to be pasted exactly as Google gives it to you. - Check that you saved it in the plugin
After pasting the code into the plugin, make sure you clicked Save. - Wait a while and try again. Sometimes your website takes a little time to show the latest changes. If Google does not verify your site straight away, leave it for up to an hour and then click Verify again.
- Clear any website cache. If you use a speed or performance plugin, look for a button that says Clear cache, Purge cache or Refresh cache, then try again.
- Paste the code in again. If it still does not work, remove the code from the plugin, paste in a fresh copy from Google Search Console and save it again.
You’re done! This process is safe and can be reversed at any time. If you get stuck, don’t worry—your site won’t be harmed, and you can always try again or ask for help.